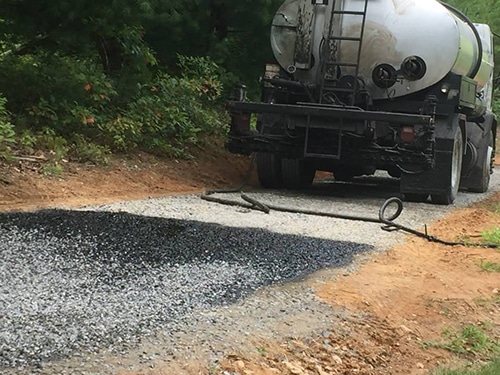
As a homeowner or property manager, you understand the importance of maintaining your driveway to enhance its curb appeal and extend its lifespan. One highly effective and recommended method of preserving your driveway’s integrity is sealcoating. This article will explore the numerous benefits of sealcoating your driveway, from protection against the elements to cost-effective maintenance practices.
What is Sealcoating?
Sealcoating is applying a protective sealant layer over an asphalt driveway’s surface. This sealant acts as a barrier, shielding the pavement from various external factors that can lead to its deterioration over time.
The Benefits of Sealcoating
- Protection against UV Rays: The sun’s harsh rays can cause oxidation in asphalt surfaces, leading to drying and cracking. Sealcoating protects against UV rays, preventing premature aging and keeping the driveway looking fresh.
- Water Resistance: Sealcoating forms a waterproof barrier that prevents water penetration into the asphalt. Blocking moisture reduces the risk of cracks and potholes caused by freezing and thawing during winter months.
- Prevents Oil and Chemical Damage: Automobile leaks and spills can cause significant damage to an untreated driveway. Sealcoating provides a protective layer that resists oil, gasoline, and other chemicals, thus minimizing potential stains and damages.
- Enhanced Aesthetic Appeal: A freshly sealcoated driveway looks rich and dark, enhancing the overall appearance of your property. It provides a smooth, even surface, giving your driveway a well-maintained and professional look.
- Minimizes Cracks and Potholes: Sealcoating helps fill small cracks and smooth out minor imperfections, preventing them from expanding and developing into more extensive damage. This proactive approach saves you from costly repairs in the long run.
- Ease of Cleaning: Sealcoated driveways are easier to clean and maintain. The smooth surface prevents dirt and debris from penetrating deep into the asphalt, making regular cleaning a breeze.
- Cost-Effective Maintenance: Sealcoating is more cost-effective than extensive repairs or complete driveway replacements. Investing in sealcoating periodically can extend the life of your driveway, saving you money in the long term.
- Quick Application and Cure Time: Sealcoating can be applied quickly, and the curing process is relatively fast. Once cured, you can resume using your driveway with confidence.
The Sealcoating Process: How It’s Done
Sealcoating is a specialized process that requires professional expertise and the right equipment. Here’s a step-by-step guide to how sealcoating is done:
- Cleaning the Driveway: Before sealcoating, the driveway must be thoroughly cleaned to ensure proper sealant adhesion. Brooms, blowers, or power washers remove any dirt, debris, or vegetation from the surface.
- Filling Cracks and Potholes: Small cracks and potholes are repaired before applying the sealcoat. A high-quality crack filler fills these imperfections, providing a smooth surface.
- Edging and Detail Work: To ensure precise application and protect adjacent surfaces, the driveway’s edges and structures, like curbs or sidewalks, are carefully taped or trimmed.
- Application of Sealant: The sealcoating material is applied to the driveway using either a sprayer or a squeegee, depending on the size and shape of the area. The sprayer allows for faster application, while the squeegee provides a more even and consistent coat.
- Second Coat (Optional): In some cases, a second coat of sealant may be applied for added protection and longevity, especially for older or heavily trafficked driveways.
- Curing Period: After applying the sealcoat, the driveway needs time to cure. The curing period can vary depending on the weather conditions but typically takes 24 to 48 hours. During this time, keeping vehicles and foot traffic off the driveway is essential.
- Clean-Up: Once the sealcoating is fully cured, any tape or protective materials are removed, and the work area is cleaned up to leave your driveway looking fresh and well-maintained.
When to Sealcoat Your Driveway
The best time to sealcoat your driveway is when the asphalt is in good condition, preferably within the first year after installation. For older driveways, it’s essential to examine the surface for cracks and signs of wear before sealcoating. Generally, sealcoating is recommended every two to three years, depending on the driveway’s condition and the traffic it receives.
Protecting Your Driveway: The Advantages of Sealcoating
Sealcoating your driveway offers a multitude of benefits, ranging from protection against the elements to cost-effective maintenance. By investing in this simple yet effective measure, you can prolong the life of your driveway, enhance its appearance, and save on potential repairs.
Whether you are a homeowner or a property manager, sealcoating is a smart choice to preserve the beauty and functionality of your driveway for years to come. If you’re considering sealcoating your driveway or need professional advice, don’t hesitate to contact our expert team at Uniform Paving & Sealcoating. We are dedicated to providing high-quality sealcoating services and assisting you in maintaining your driveway with excellence.
